Give a gallery wall a sense of order
Use relationships between frames instead of trying to make every picture match.
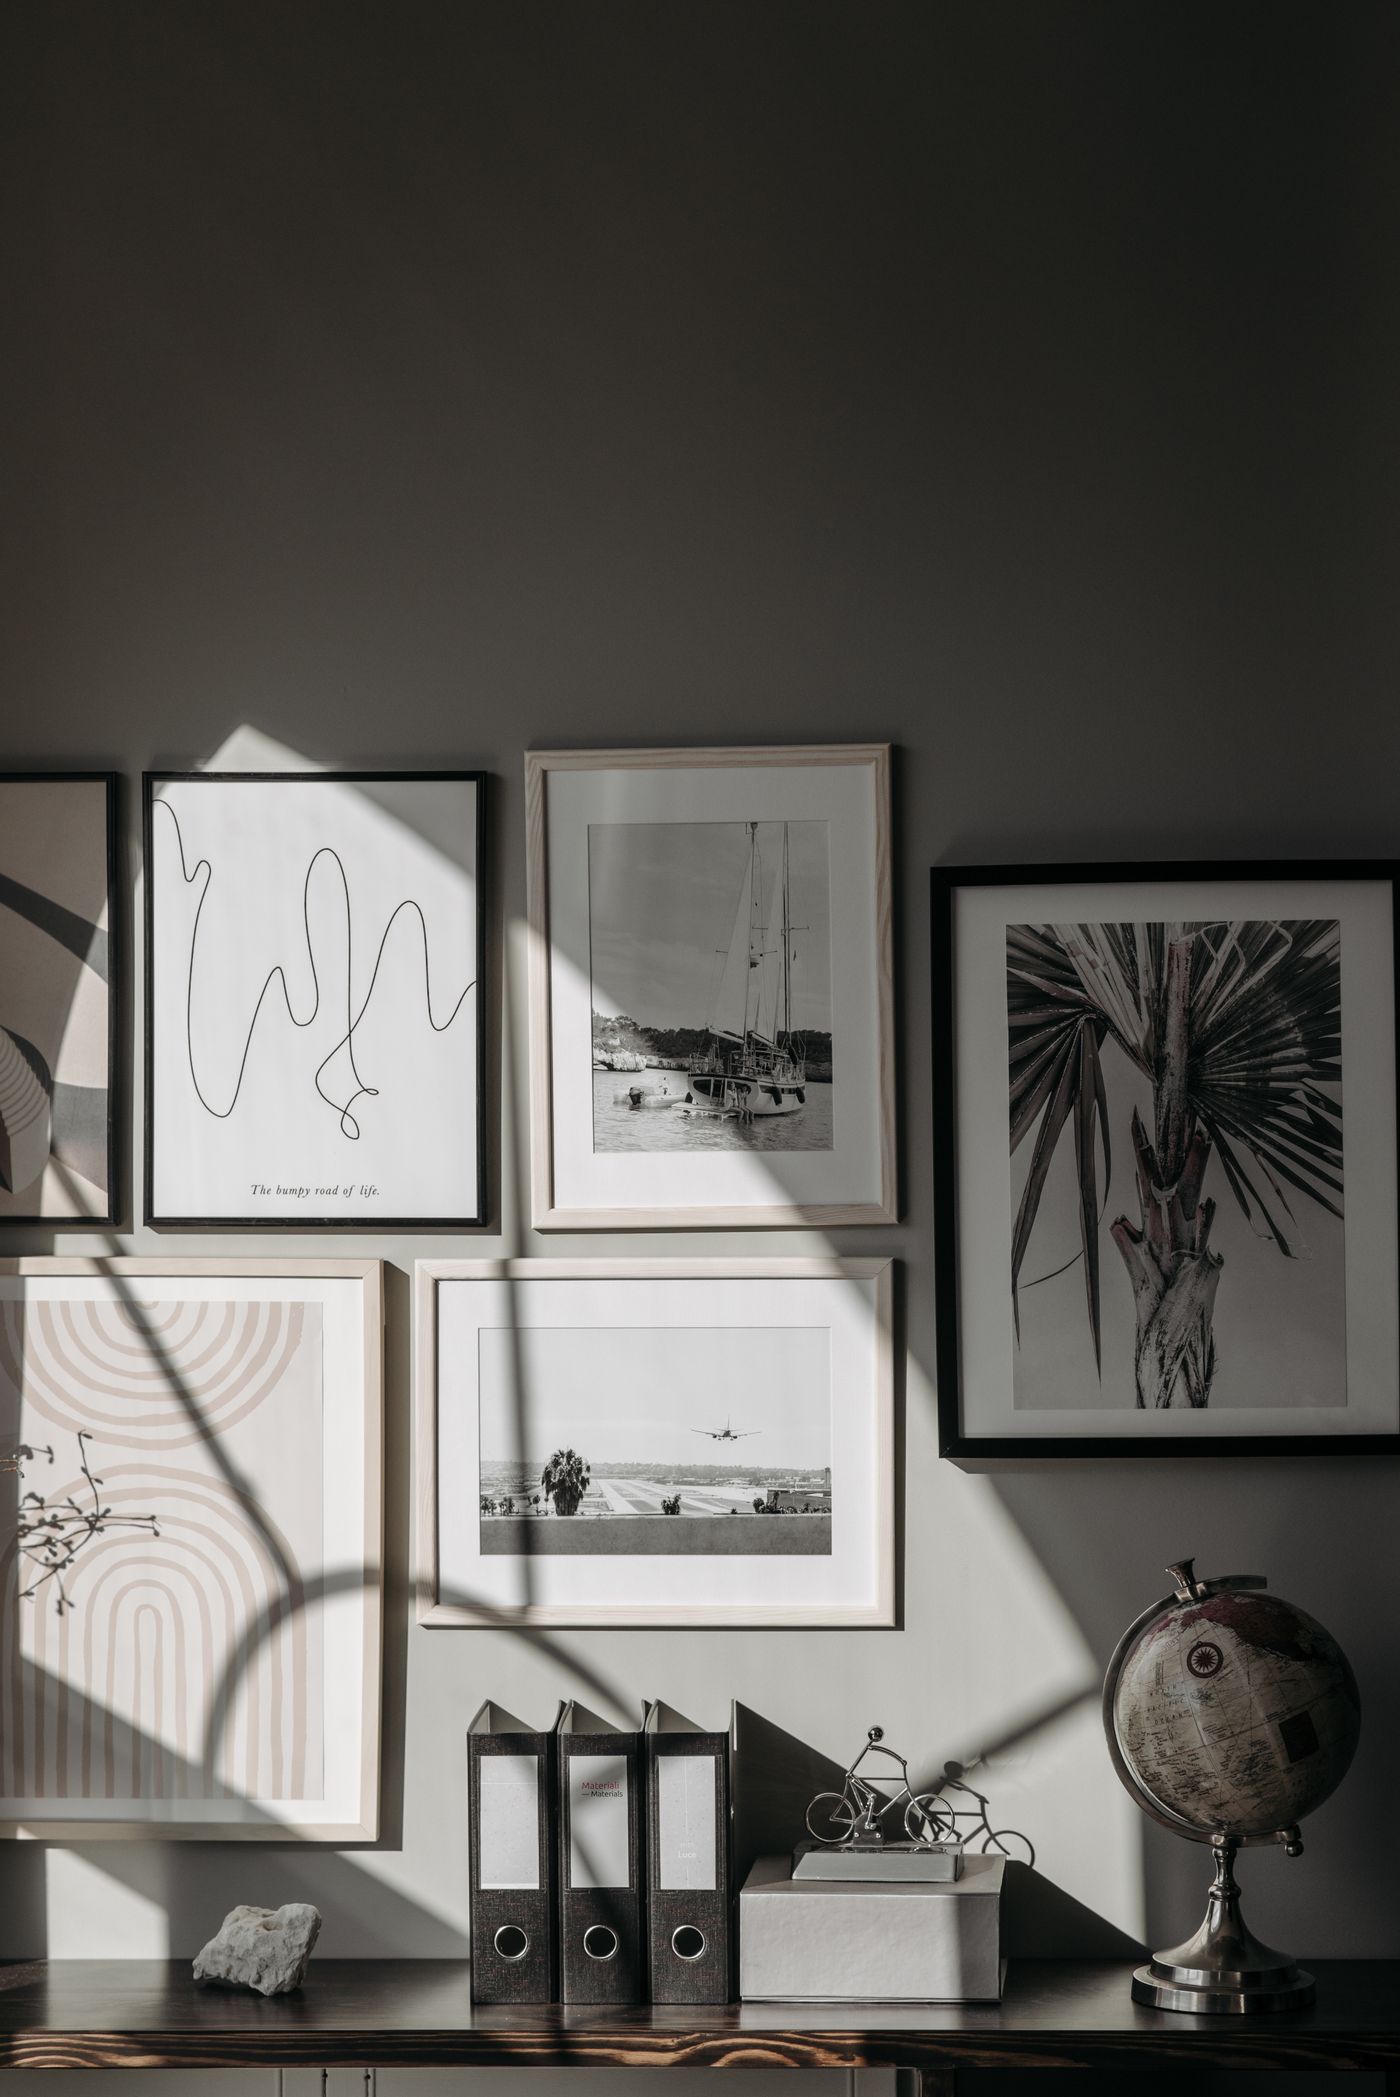
A gallery wall can bring together photographs, drawings and prints without requiring matching frames. What usually gives the group coherence is a visible relationship: a shared edge, a recurring gap or a larger piece that anchors smaller ones. Decide which relationship will lead before arranging every available frame on the wall.
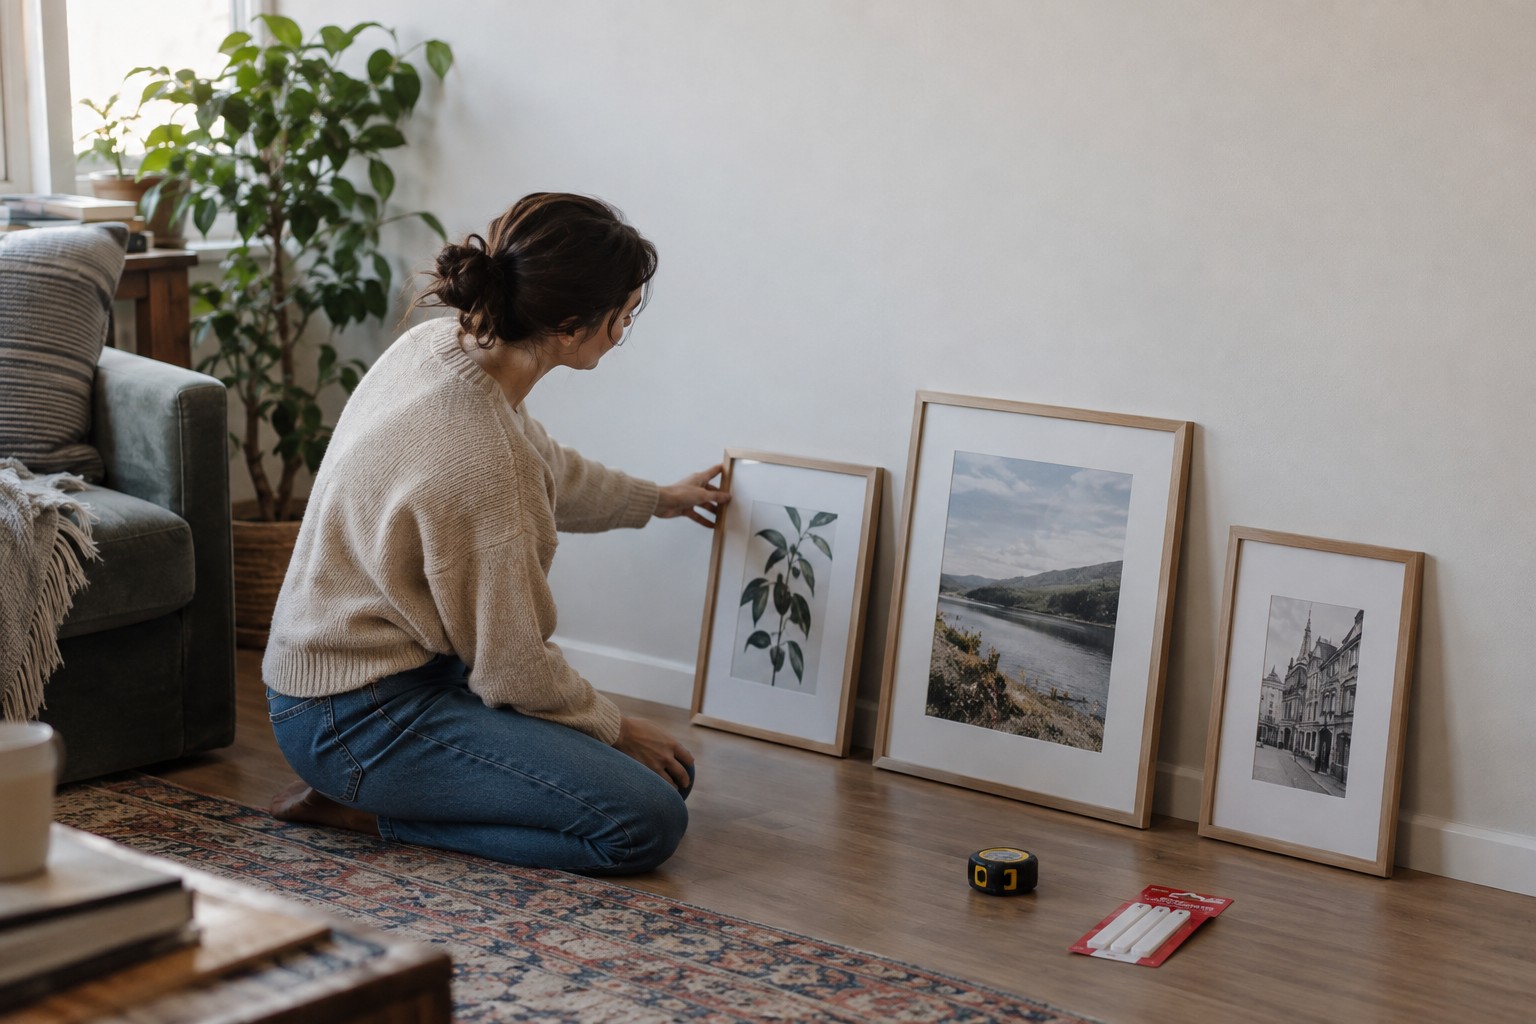
Start on the floor with the largest or most important work. Place the next pieces around it, checking the gaps between the frame edges rather than the printed images. A wide mount can make two equally spaced frames look farther apart, so judge the arrangement as a whole. You can keep the general rhythm consistent without forcing every gap to be mathematically identical.
Choose one organising idea
A row of aligned centres can work along a hallway. A group above a sofa might share an outer rectangle while using varied frames inside it. Another arrangement can grow outward from one central image. Mixing all these ideas at once tends to create competing lines, particularly on a small wall. Select the approach that suits the furniture beneath it and the number of works you actually have.
Avoid using tiny pictures merely to plug every hole. Some breathing space helps the individual images remain visible. If one corner feels unresolved, move the existing frames before buying another. A paper template of each frame allows adjustments at full scale without repeatedly making new holes.
Check the group from everyday viewpoints
Stand in the doorway, sit down and look from the side as well as straight ahead. A layout that works in a close photograph may look too high or too scattered from the sofa. Consider whether lamps, tall furniture or an opening door interrupt the intended outline. Keep the group related to the part of the room where it will be viewed rather than centring it on the wall automatically.
Once the layout is settled, note each frame's hanging point because it may not sit at the same distance from the top edge. Select fixings appropriate to the object and wall, following their instructions. A level and careful measurements are more useful at this stage than improvising frame by frame.
Correct one problem at a time
Suppose a group of five frames feels scattered despite even gaps. Check whether their outer edges create several unrelated steps. Try aligning the bottom edge of two neighbouring frames, then move a third slightly closer to the larger anchor. Photograph the change before continuing. This separates an alignment problem from the impulse to fill every gap with another picture.
If one dark frame dominates, move it nearer another visually substantial piece or give it more space rather than replacing every frame to match. A dense black-and-white photograph can carry more visual weight than a pale drawing of the same size. Judge those contents as well as the frame dimensions. When a group still feels crowded, remove one piece temporarily and see whether the remaining relationships become easier to understand.
Leave room for change without treating the arrangement as unfinished. A family photograph may eventually replace a print, or a larger work may become the centre. Recording the layout makes that easier. The aim is a group that feels connected while allowing the individual pieces to retain their differences.