Set up a temporary watercolour workspace
Create a temporary painting area that can be packed away without sacrificing wet work.
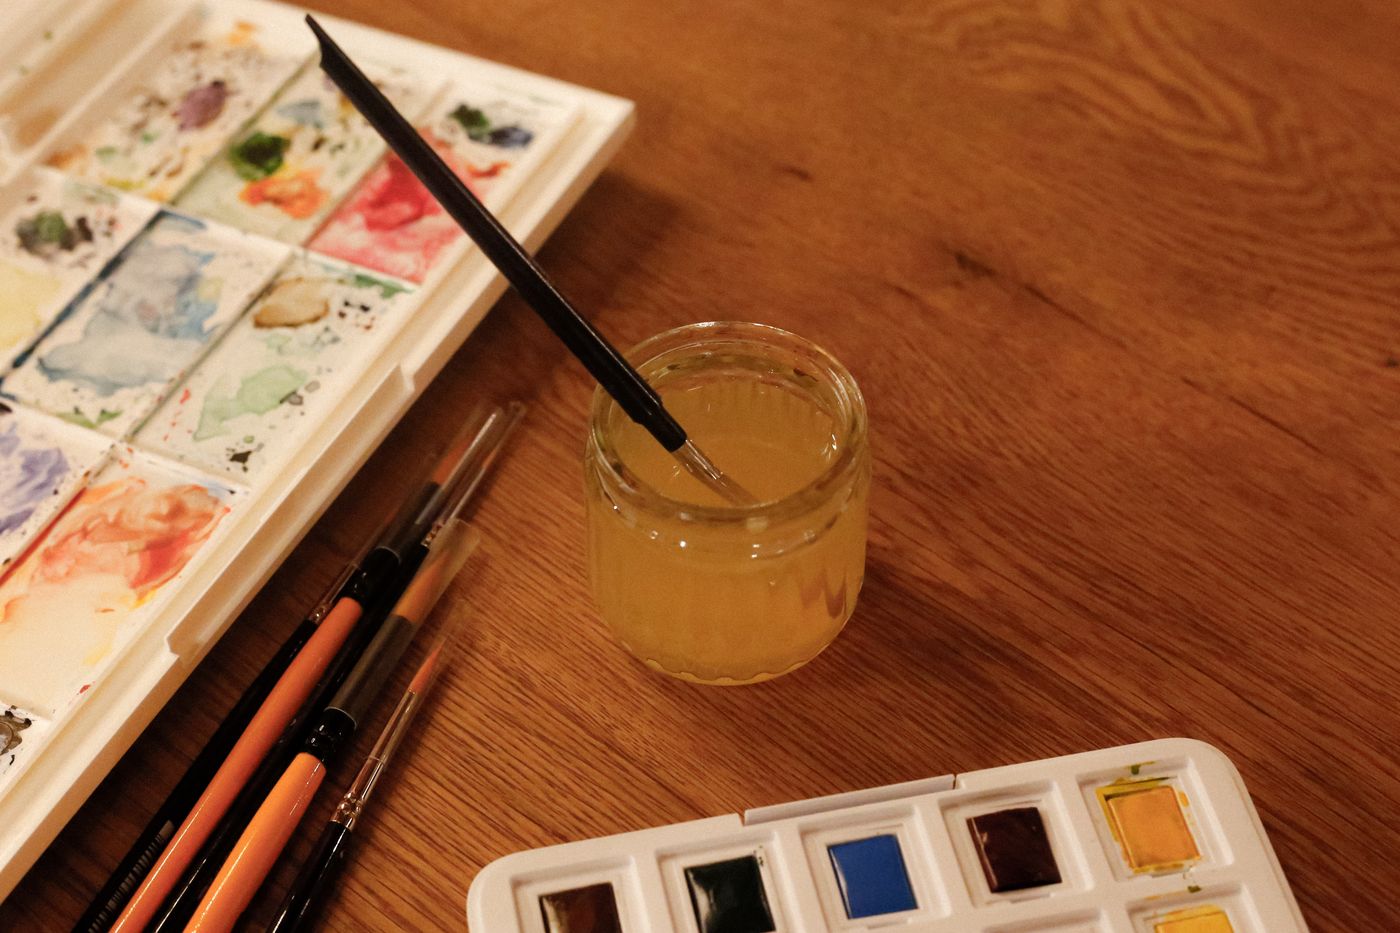
A dining table can become a watercolour workspace, but the transition needs planning. You need a stable painting surface, room for water and somewhere for the work to dry after the table is needed again. Decide on that drying place before opening the paint. Otherwise the last stage of a pleasant session can become an urgent search for somewhere to move a wet sheet.
Protect the table with a suitable covering that will not shift beneath your hands. Test the arrangement with clean water first if you are unsure about the surface. Keep drinks and food separate from painting containers, and use materials according to their labels. An old mug used for brushes should not be easily mistaken for a cup of tea.
Arrange around your working hand
Place water and tools where reaching for them does not carry a wet brush across the painting. The best side depends on which hand you use and the room available. Leave a clear area for mixing and a separate dry area for paper, reference notes and clean tissues.
Use a limited selection of paints for a short session. A smaller palette makes it easier to learn what each mixture does and reduces the amount to unpack. Keep a scrap of the same paper for testing colour and water balance before touching the main work.
Lighting should help you see the paper without creating a strong glare or a shadow from your own hand. If daylight is useful, position the work accordingly, but avoid arranging the whole session around light that disappears before you normally have time to paint.
Plan the handover back to dining
Work on a board or support that can be moved as a unit when suitable for your technique. Lift it carefully and keep it level as needed. The drying place should be protected from accidental contact, pets and household traffic. A sheet balanced across an often-used chair is not a dependable plan.
Clean brushes and equipment as the manufacturer advises, and deal with paint waste according to product and local disposal guidance. Do not assume that every pigment or medium has the same disposal requirements. Let tools dry appropriately before enclosing them in storage.
Keep a small record of the colours used if you intend to return to the painting. A labelled test swatch can be more useful than trying to reconstruct a mixture from memory. Put the dry tools, paints and notes together once cleanup is complete.
Use a short session to test the arrangement
For a first trial, paint a few colour studies rather than a large piece. Notice whether you keep crossing the page to reach water, whether the mixing area is too small and whether your chair height allows comfortable movement. Adjust the layout before committing to a session that will keep the table occupied for much longer.
Photograph the useful arrangement once the tools are clean and dry if that helps you recreate it. Include only the setup, not sensitive material that happened to be nearby. A simple reference can reduce repeated experimentation without requiring the table to remain permanently arranged for painting.
Keep the session's unfinished paper on its support until it is ready to move. Do not stack another project on top merely because the surface looks dry from a distance. Allow the actual materials and technique to determine when the work can be stored.
Use a dedicated water container distinguishable from drinking glasses, and tell anyone sharing the table which it is. If the table must be cleared unexpectedly, move the whole protected setup before opening food rather than pushing paint materials into one crowded corner.
Leave the table ready for its next purpose. This final step is part of making temporary creative space work in a shared home, not an interruption of the painting. When others can use the room normally afterwards, it is easier to make room for another session.